This step-by-step workflow illustrates how I import objects (metadata + files) into CollectiveAccess. I’m writing this post partly to give others an idea of how to import content into CollectiveAccess — but mainly it’s for my future self, who will likely have forgotten!
Caveats: Our CollectiveAccess instance is version 1.4, so some steps or options might not be the same for other versions. This is also just a record of what we at John Jay do when migrating/importing collections, so the steps might have to be different at your institution.
Refer to the official CollectiveAccess documentation for much more info: metadata importing and batch-uploading media. These are helpful and quite technical.
CollectiveAccess importing steps
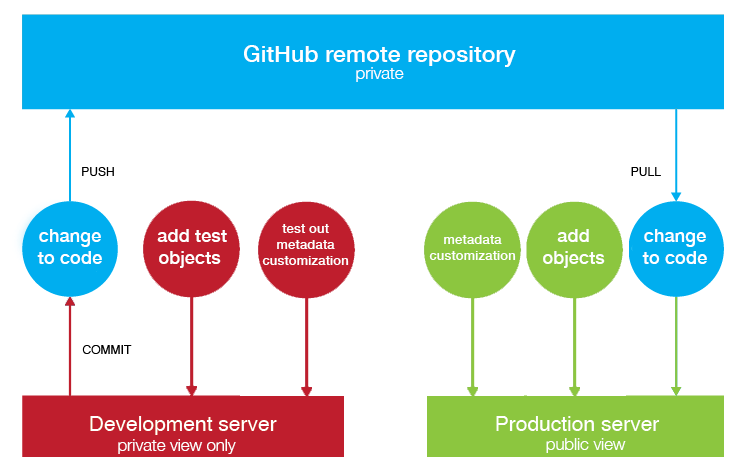
Do all of these steps in a dev environment first to make sure everything is working, then do it for your live site.
- Create Excel spreadsheet of metadata to migrate
- Here’s our example (.xlsx) from when we migrated some digitized photos from an old repo to CA
- This can be organized however you want, though it may be easiest for each column to be a Dublin Core field. In ours, we have different fields for creators that are individuals vs. organizations.
- Create another Excel spreadsheet that will be the “mapping template” aka “importer”
- Download the starter template (.xlsx) from CA wiki. This whole step is hard to understand, by the way, so set aside some time.
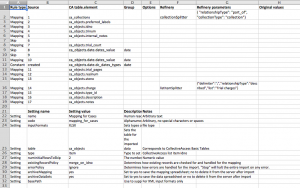
- Here’s our example (.xlsx), which refers to the metadata spreadsheet above.
- Every number in the “Source” column refers to the metadata spreadsheet: 1 is column A, 2 is B, …
- Most of these will be Mapping rules, e.g. if Column A is the title of the object, the rule type would be Mapping, Source would be 1, and CA table element would be ca_objects.preferred_labels
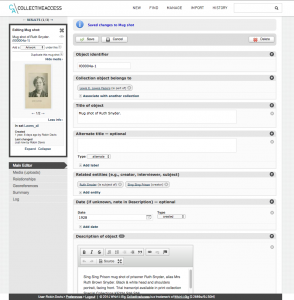
- Get the table elements from within CA (requires admin account): see Manage → Administration → User interfaces → Your Object Editor [click page icon] → Main Editor [click page icon] → Elements to display on this screen
- Example row:
Rule type Source CA table.element Options Mapping 9 ca_objects.lcsh {“delimiter”: “||”}
- Don’t forget to fill out the Settings section below with importer title, etc.
- On your local machine, make a folder of the files you want to import
- Filenames should be the same as identifiers in metadata sheet. This is how CA knows which files to attach to which metadata records
- Only the primary media representations should be in this folder. Put secondary files (e.g., scan of the back of a photograph) should be in a different folder. These must be added manually, as far as I know.
- Upload the folder of items to import to pawtucket/admin/import.
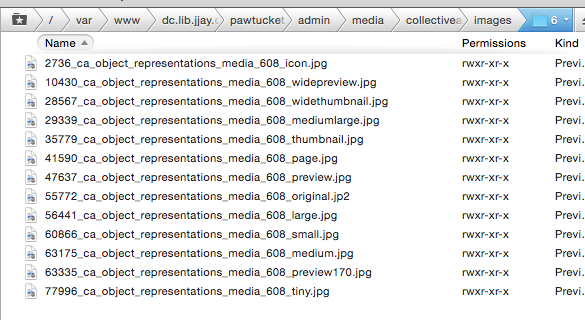
- Perform chmod 744 to all items inside the folder once you’ve done this, otherwise you’ll get an “unknown media type” error later.
- (Metadata import) In CA, go to Import → Data, upload the mapping template, and click the green arrow button. Select the metadata spreadsheet as the data format
- “Dry run” may actually import (bug in v. 1.4, resolved in later version?). So again, try this in dev first.
- Select “Debugging output” so if there’s an error, you’ll see what’s wrong
- This step creates objects that have their metadata all filled out, but no media representations.
- Imported successfully? Look everything over.
- (Connect uploaded media to metadata records) In CA, go to Import → Select the directory from step 5.
- “Import all media, matching with existing records where possible.”
- “Create set ____ with imported media.”
- Put object status as inaccessible, media representation access as accessible — so that you have a chance to look everything over before it’s public. (As far as I know, it’s easy to batch-edit object access, but hard to batch-edit media access)
- On the next screen, CA will slowly import your items. Guesstimate 1.5 minutes for every item. Don’t navigate away from this screen.
- Navigate to the set you just created and spot-check all items.
- Batch-edit all objects to accessible to public when satisfied
- Add secondary representations manually where needed.
You may need to create multiple metadata spreadsheets and mapping templates if you’re importing a complex database. For instance, for trial transcripts that had multiple kinds of relationships with multiple entities, we just did 5 different metadata imports that tacked more metadata onto existing objects, rather than creating one monster metadata import.
You can switch steps 5 and 6 if you want, I believe, though since 5 is easy to look over and 6 takes a long time to do, I prefer my order.
Again, I urge you to try this on your dev instance of CA first (you should totally have a dev/test instance). And let me know if you want to know how to batch-delete items.
Good luck!
